Adtraction tracking implementation with GTM
Adtraction conversion tracking can be easily implemented with Google Tag Manager ("GTM") by activating the two Adtraction tags available in the GTM Community Template Gallery. First Adtraction Tag, which should be triggered sitewide, ie on all pages of your website. Then, Adtraction Conversion, which should be triggered on your purchase confirmation page only. Please follow the steps below to complete the setup.
Should you have any questions regarding the implementation, please contact support.
1. Add the data layer
The data layer is a JavaScript array used to send transaction information from your purchase confirmation page to your GTM container.
Add the following snippet of code to the purchase confirmation page on your website. Please note that the data layer must be placed before the GTM JavaScript snippet.
The values used below are examples. When a transaction is completed and the confirmation page is loaded, the data layer should be populated with actual transaction data.
<script>
  dataLayer = [{
    'transactionId': 'abc123',
    'transactionTotal': 2900.00,
    'transactionPromoCode': 'Discount55',
    'md5': 'b58996c504c5638798eb6b511e6f49af'
  }];
</script>
transactionId should hold a unique transaction reference. Adtraction considers transactions with non-unique references to be duplicates and does not track them.
transactionTotal should hold the total transaction amount, excluding VAT, delivery costs and discounts. The value must be a float, no thousand separator is allowed and finally the decimal place has to be a standard dot character, for example: "1083.29".
transactionPromoCode (optional) should hold any coupon code or voucher code used in the transaction. If a coupon or voucher is not used the variable should be left empty.
md5 should hold an MD5 hash created from the user's email address. Hashes are used for cross device tracking. For implementation, please refer to our hashing functions.
2. Declare the variables
Variables are used to send information from the data layer to GTM. You need to declare one variable for each value in the data layer. Navigate to the Variables section in your GTM account and click "New" under "User-Defined Variables".
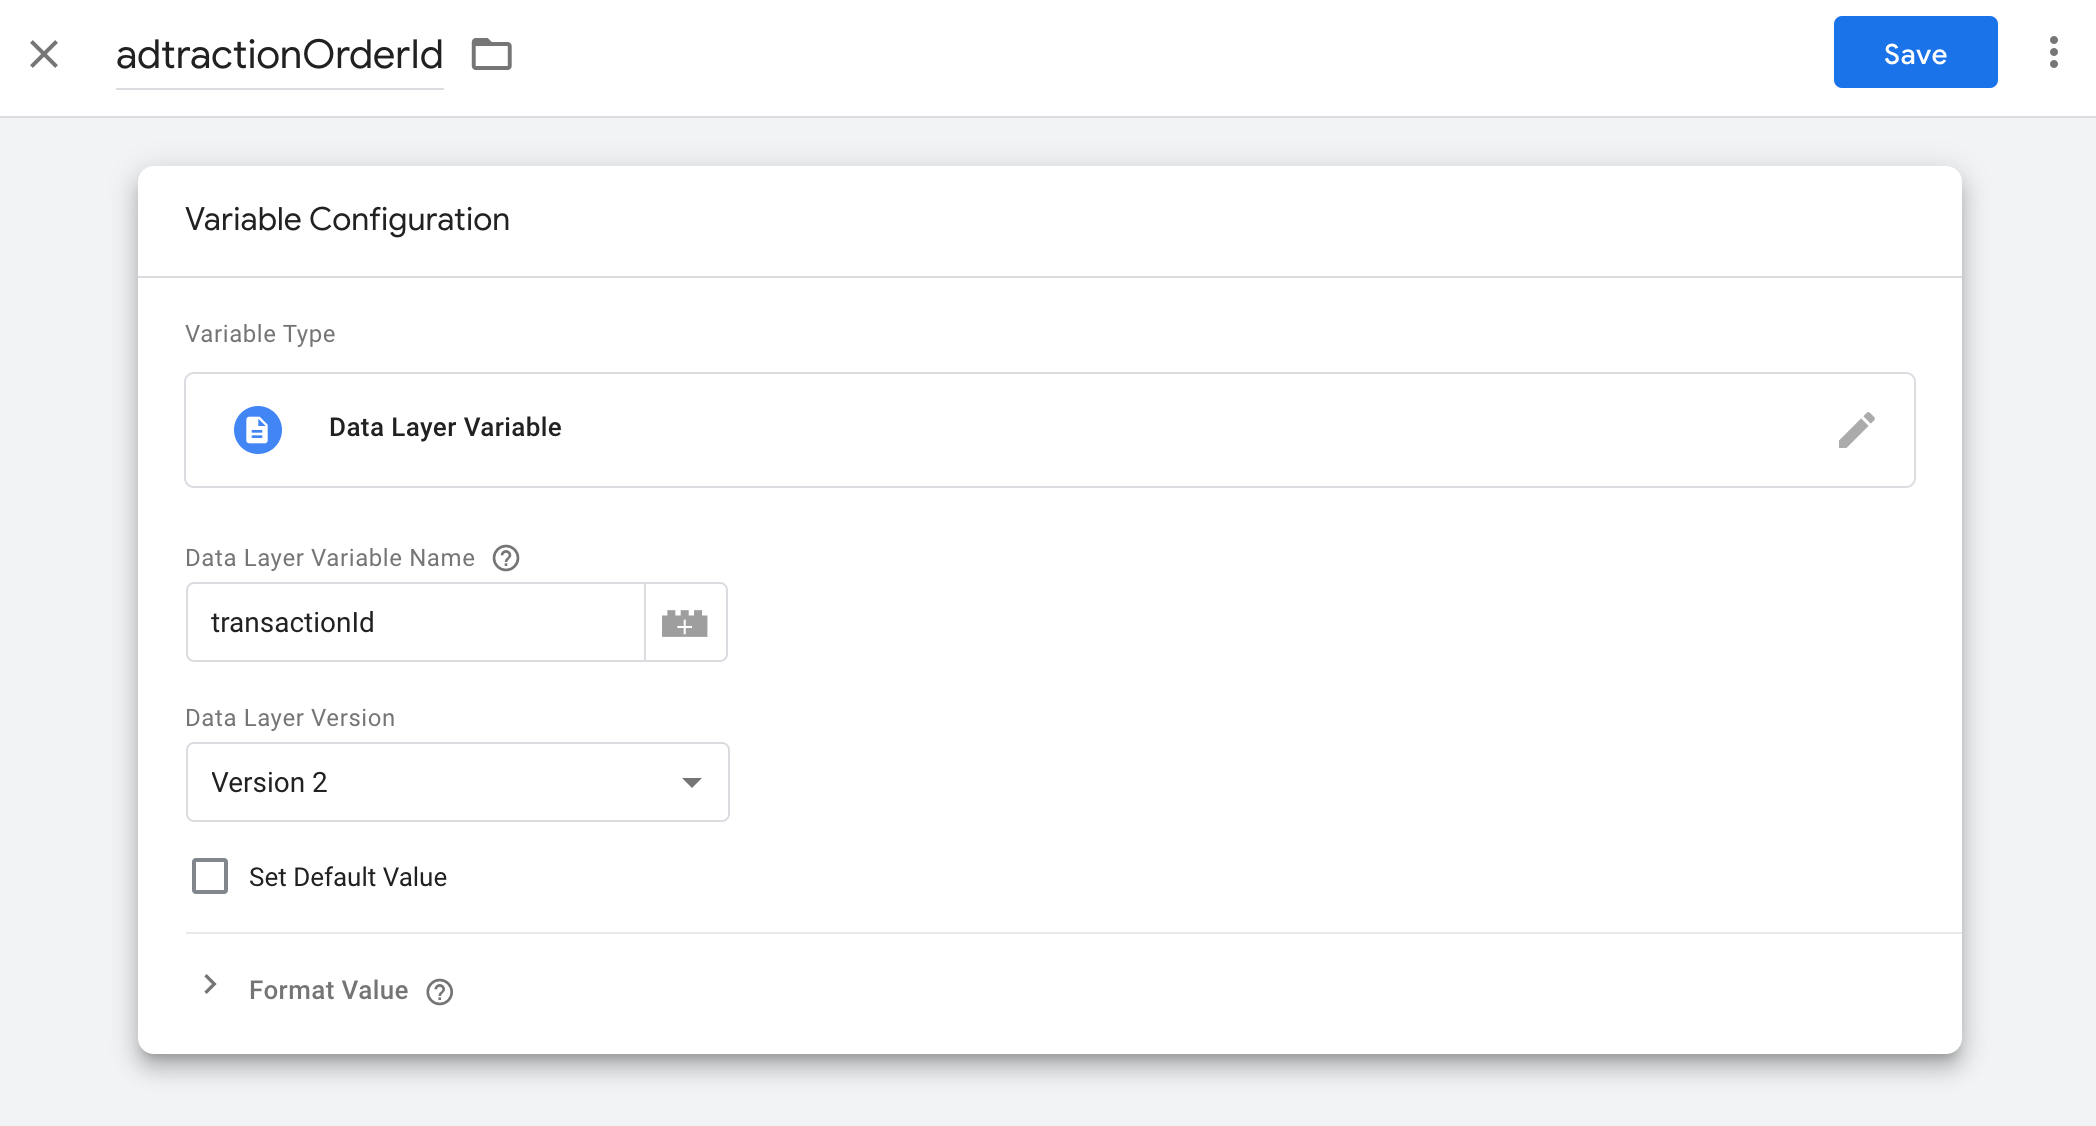
In the example above we have declared a new GTM variable adtractionOrderId which maps to the transactionId variable in the data layer. The same should be done for each variable in the data layer, as summarized in the table below.
| Data layer variable name | GTM variable name | Data layer version | Variable type |
|---|---|---|---|
| transactionId | adtractionOrderId | Version 2 | Data layer variable |
| md5 | adtractionmd5 | Version 2 | Data layer variable |
3. Activate the Adtraction Tag
Navigate to the Community Template Gallery in your GTM account and select the Adtraction Tag template. Use the following template settings:
Program ID: use the Program ID that was provided by Adtraction
Configure the Adtraction Tag to fire on All DOM Ready Events, ie on all pages on your website (excluding the purchase confirmation page).
NB: the Adtraction Tag is identical for all transaction types connected to your partner program and only needs to run once per page load. If you are implementing tracking for more than one transaction type, do not implement the Adtraction Tag multiple times.
4. Activate the Adtraction Conversion tag
Navigate to the Community Template Gallery in your GTM account and select the Adtraction Conversion template. Use the following template settings:
Program ID: use the Program ID that was provided by Adtraction
Transaction type: use the transaction type that was provided by Adtraction
Transaction type ID: use the Transaction type ID that was provided by Adtraction
Currency: use the Currency code that was provided by Adtraction. The value must be a 3-letter currency code per ISO 4217 standard ("EUR" for example).
Order reference and Hashed email should use data from your data layer. Select the appropriate variables as defined in step 2 above. Our example above used adtractionOrderId and adtractionmd5. Hashed email is recommended but not required. If this value is not used in your tracking implementation, select "Not set" in the dropdown menu.
5. Create a trigger for the Adtraction Conversion tag
A trigger defines when GTM fires the Adtraction Conversion tag, which should be whenever the purchase confirmation page on your website is loaded. Navigate to the Triggers section in your GTM account and click "New".
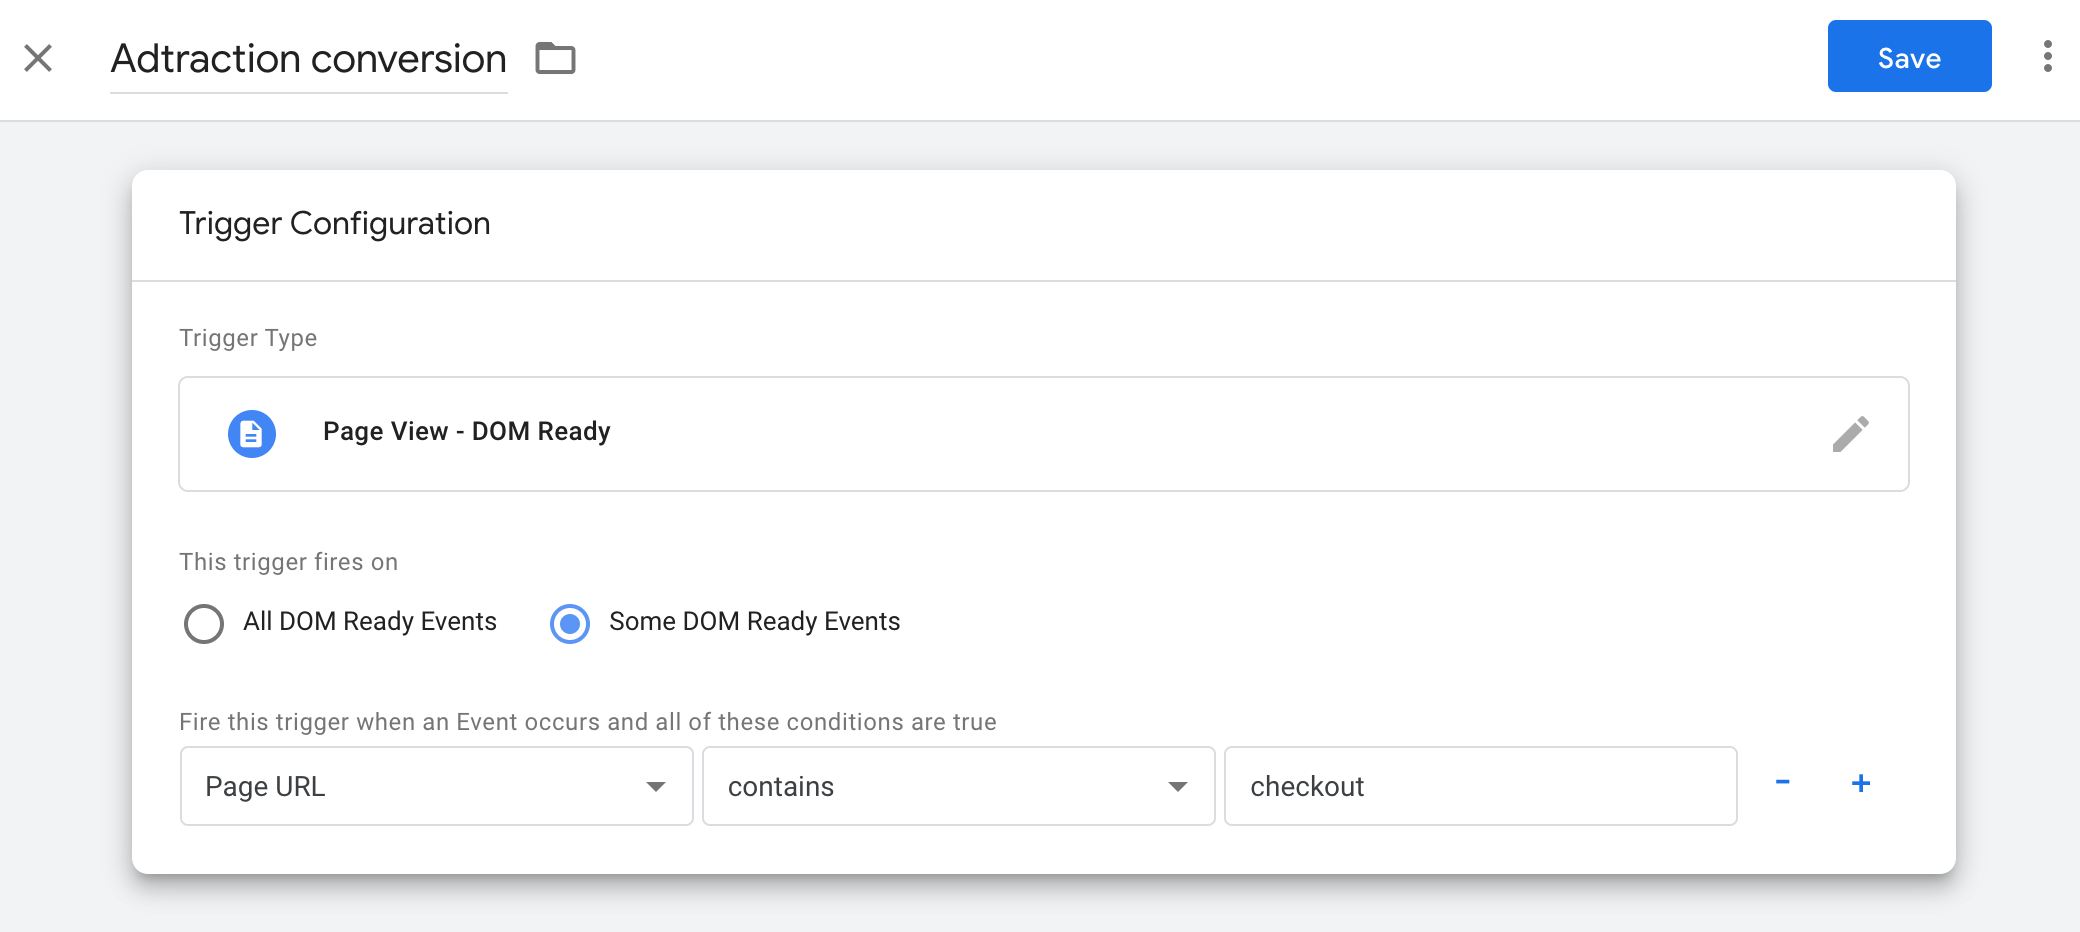
Select DOM Ready as Event type, and instruct the trigger to fire on Some DOM Ready Events.
Configure the trigger to fire only when the confirmation page on your website is loaded by adding a suitable condition. In this example we require the Page URL to contain "checkout".
6. Publish the tags
Click the Publish button in the top right corner of your GTM account to publish your tags to your website. Adtraction conversion tracking is now active on your website!